
BloomSense
Final Project: Documentation

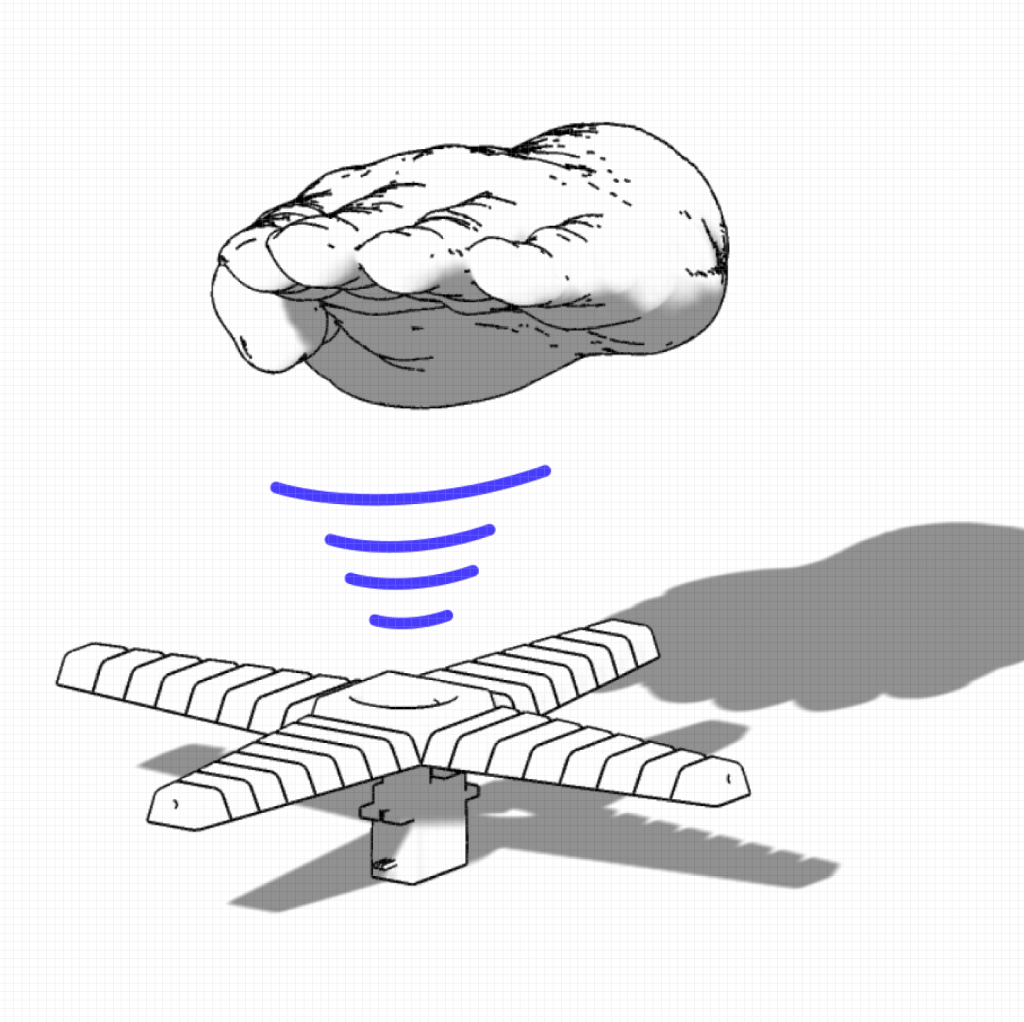
Interactive single‐player reaction game built around two flexible paper-flower petals 3D-printed in TPU and driven by SG90 servos via wire linkages. Each “flower” opens and closes in a staggered sequence; the player must wave their hand within 15 cm (detected by VL53L0X ToF sensors) to “catch” each bloom. Complete three rounds of increasing speed and difficulty, scoring five successful reactions out of six chances to win—and enjoy a 5 s cheer of rapid petal dances upon victory. A full-screen p5.js UI provides a branded gradient background, countdown, in-game progress bar, and confetti/rain effects, all tied to the Arduino’s serial messages.
Final Video
Hardware demo
UI
Circuit & Code

Code
Arduino: the runEvent() loop that drives each bloom
// Runs one "open → close → react → pause" cycle on a flower.
// reverse=true flips the servo direction; cfg holds the timings for the current round.
bool runEvent(Servo &srv,
              Adafruit_VL53L0X &lox,
              bool reverse,
              Round &cfg)
{
  uint8_t openA  = reverse ? 0   : 100;
  uint8_t closeA = reverse ? 100 :   0;

  // 1) OPEN petal
  srv.write(openA);
  delay(cfg.openT);

  // 2) CLOSE petal
  srv.write(closeA);

  // 3) REACT window: watch for your hand
  uint32_t t0 = millis();
  bool reacted = false;
  while (millis() - t0 < cfg.reactT) {
    if (lox.rangingTest(&m, false), m.RangeStatus == 0
        && m.RangeMilliMeter < THRESH_MM) {
      reacted = true;
      break;
    }
  }
  if (reacted) {
    Serial.println("REACT");
    // reward: re-open briefly
    srv.write(openA);
  }

  // 4) PAUSE before next event
  delay(cfg.pauseT);

  return reacted;
}
p5.js: handling serial messages
// 1. Trigger the port chooser and open the serial port
select('#connect').mousePressed(async () => {
  if (port) return;
  port = await navigator.serial.requestPort();
  await port.open({ baudRate: 115200 });

  // 2. Pipe the readable stream through a TextDecoder
  decoder = new TextDecoderStream();
  port.readable.pipeTo(decoder.writable);

  // 3. Get a reader and start the read loop
  reader = decoder.readable.getReader();
  readLoop();
});

// 4. Continuously read chunks, split on newline, and dispatch
async function readLoop() {
  while (true) {
    const { value, done } = await reader.read();
    if (done) break;
    buffer += value;
    let parts = buffer.split(/\r?\n/);
    buffer = parts.pop();          // leftover partial line
    for (let line of parts) {
      handleLine(line.trim());
    }
  }
}
Hardware List
3D-Printed Flower Petals
- 2× custom petal mounts printed in soft TPU (for flexibility and grip)
Linkage Wiring
- Steel or nylon wire rods connecting each SG90 horn to its TPU petal, transmitting servo motion
Remaining Components
- Arduino Uno
- 2 × Adafruit VL53L0X Time-of-Flight breakouts
- 2 × SG90 micro-servos
- 1 × tactile pushbutton (D4 + GND)
- External 5 V rail + 470 µF decoupling cap
- Jumper wires, common ground bus
Happy Moments / Challenges
- Happy: watching the first soft-TPU petal flex open under servo motion—felt delightfully organic.
- Challenge: managing dual VL53L0X modules on I²C; solved by toggling XSHUT lines and reassigning one to 0x30.
- Happy: getting the 5 s servo “cheer” dance synced with UI confetti—extremely gratifying!
- Challenge: refining round timing so it wasn’t too rushed or too slow—iterated over several user tests.
Future Improvements
Mechanical: refine petal shape for even smoother blooms; integrate flex joints directly in print.
UI Calibration: add on-screen sliders to adjust reaction distance threshold and round speeds.
Credits
My contributions: mechanical design (TPU petals + wire linkages), full Arduino firmware, p5.js UI, sound & graphics integration.
Libraries & Resources:
- Adafruit VL53L0X library: https://github.com/adafruit/Adafruit_VL53L0X
- p5.js & p5.sound: https://editor.p5js.org/jz6294/sketches/55oEz3mbt
AI Assistance: Used Chatgpt to Debug.
Office Hours: Thanks to Prof. David Rios for my idea brainstorm.
VL53L0X Soldering Help: Proud Aiemruksa (GA)


Leave a comment